Photoshop. Simplified.
Lesson #TWO
Editing in Camera Raw
In the previous tutorial, we learned the benefits that raw files have over JPEG. The JPEG conversion process edits our image with no input from us, simultaneously discarding a great portion of original image data captured by the camera's sensor. This gives us an edited image by permanently changing pixels causing us to lose a ton of valuable information.
Shooting in raw assures our files have all of the possible detail the camera could capture, with absolutely no automatic processing. The abundance of image information means we can (within limits) recover and restore detail in the shadows and highlights that would not be possible with a JPEG. Now we can choose what happens with the image by using Adobe Camera Raw.
What is Camera Raw?
Raw files contain the raw image data captured by your camera's sensor, with no processing of any kind (hence the term, raw) To process these files, we need to use special software that knows how to manipulate the raw data. Adobe offers two programs for raw processing. One is a standalone application, Lightroom. The other is a free plug-in for Photoshop - Adobe Camera Raw.
Lightroom is a standalone application (you can subscribe to both Lightroom and Photoshop through Adobe Creative Cloud for $9.99 per month). Lightroom includes additional features to help with your workflow, such as the ability to organize and catalog your photos. Adobe Camera Raw is strictly an image editing application. Regardless of which you choose, both Lightroom and Camera Raw use the exact same image processing engine, capable of yielding terrific results. While you can also edit JPEG, PNG, and TIFF formats in Lightroom and Adobe Camera Raw, a camera raw file will give you the most flexibility and the best results.
Using Camera Raw and Photoshop
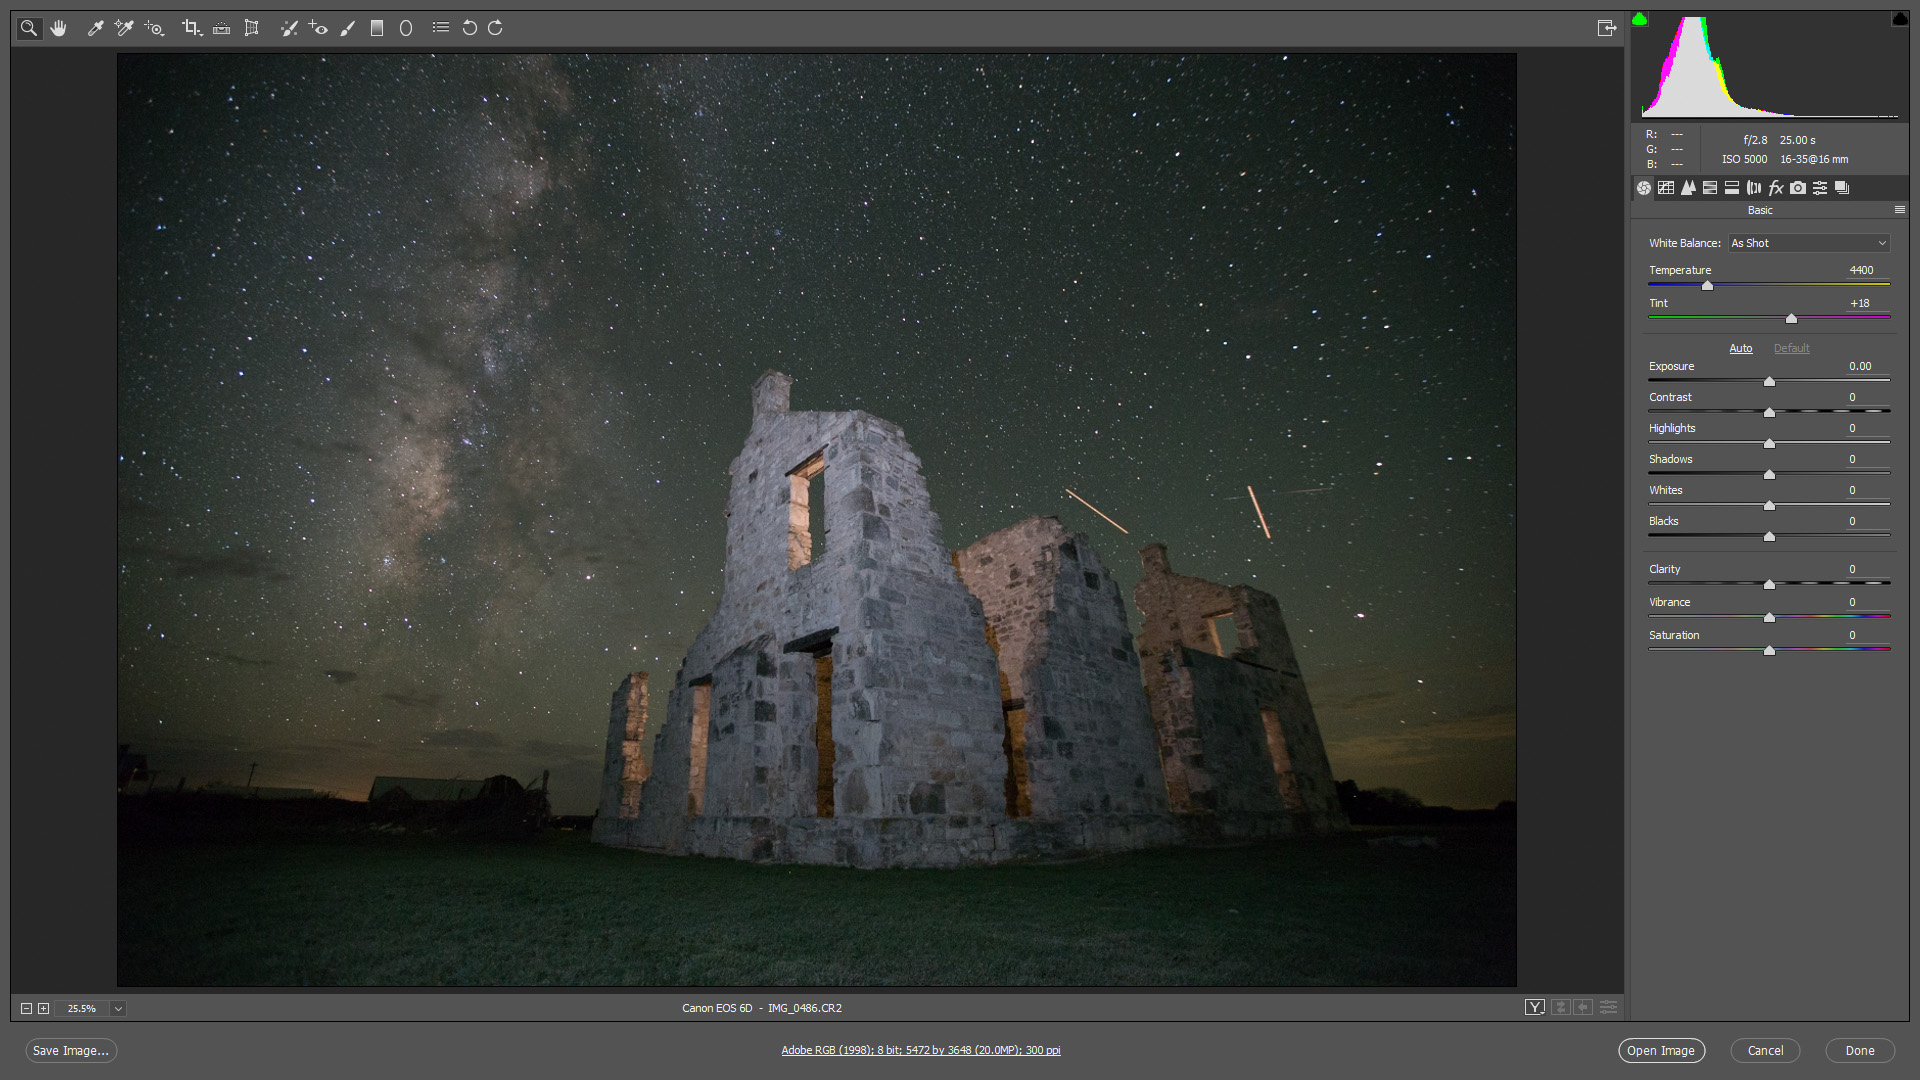
When you open a raw file into Photoshop, it will automatically open the Camera Raw interface. Think of Camera Raw as an image developer, while Photoshop is an image editor. First, we open the image in Camera Raw for initial developing. Once we've processed the image to our liking, we can open it in Photoshop for further editing and refinement.
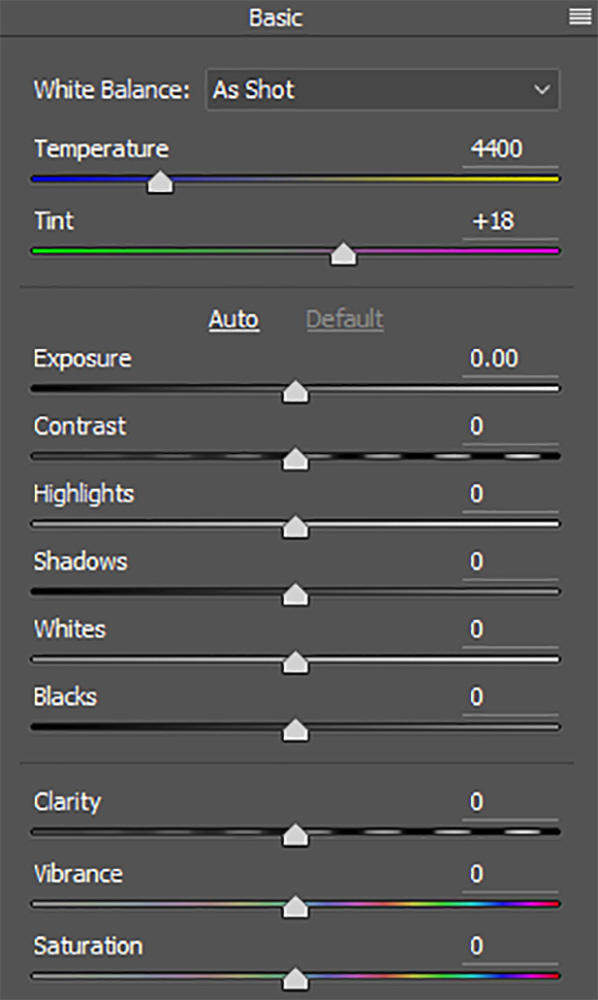
Adobe Camera Raw uses intuitive panels and sliders to make image adjustments.
Camera Raw is where we do all of our initial post-processing - setting the white balance, exposure, contrast, vibrance, initial sharpening, noise reduction, lens correction and much more. In general Camera Raw is where you make global edits on the entire image. It is the foundation of your image. After making raw edits, we then move the image to Photoshop for more specific local edits.
As you can see in the video tutorial, it's possible to do some local edits using the tools in Camera Raw, but first and foremost, it is about making the proper initial image edits.
Streamlined For photographers
Photoshop is an expansive program that is used not only for photography but many other fields, including graphic and multimedia design, video editing and 3D rendering. Because of the other uses for the program, there are many tools that photographers don't use. For a photographer who's new to Photoshop, all these extra abilities can be extremely confusing. This make learning the program more difficult and time consuming than necessary.
Camera Raw offers a solution for this problem. Although it's a plug-in running in Photoshop, it opens first and looks like a completely separate program. It's organized in a logical format and structured to follow a standard image editing workflow. Like Photoshop, it uses panels and tools to help you process your images, but they're presented in an intuitive and easy to understand layout. Unlike Photoshop, you won't have to sort through tools and features that you don't need because the program was designed for photographers.
Non-Destructive Image Editing
Photoshop is a pixel-based editor. As an image is worked on, it makes changes to its pixels. This is called "destructive editing" because it alters the image's original information. The opposite is known as "parametric editing". Camera Raw uses this method of image processing. Parametric editing is non-destructive because it simply uses a series of instructions (called "metadata") to tell the application how to display the image on the screen. As we process an image in Camera Raw, it records all of our settings as a list of instructions. If we move a slider or change a setting, it instantly shows how the updated setting effects the image. What we see isn't really the edited image. It is actually a live preview of how the image looks based on the current instructions.
The original photo and the instructions on how we process the photo are two completely separate things. No changes are made to the original image data. We are simply telling Camera Raw to show us what the photo would look like if we decreased the exposure, or brought up the shadows, or added vibrance. What if we cropped the image as a 5x7 or an 8x10? How much sharpening and noise reduction can be done? We give Camera Raw instructions on how to display the image with edits using its panels and tools. We can alter these instructions an infinite number of times with absolutely no loss of image quality. No matter how much processing is done, we can revert back to the original photo by clearing the instructions.
There are ways to work in Photoshop that are non-destructive to your original file, such as editing a copy, using layers and more. However, Camera Raw is natively non-destructive. It's only once we open the image in Photoshop or save the image as an alternate file format, that our Camera Raw instructions are actually applied to the pixels in the image.
Edit Multiple Images At Once
Editing multiple images in a snap is easy with Adobe Camera Raw.
Another big advantage with Camera Raw is that you can easily edit multiple images at once, merge panoramas and HDR images. If you've taken multiple shots under similar lighting conditions, you can easily edit an image in Camera Raw, then sync the settings to the other frames.
Camera Raw - The Foundation of Excellent Editing
Camera Raw works together with Photoshop. A good edit begins in Camera Raw and is completed in Photoshop. Both have their strengths and knowing when and how to use each one is the key to an efficient workflow.
YOUR ASSIGNMENT
You're now an Adobe Camera Raw expert! So let's see what you can do with this incredibly useful plug-in. Download this image and preform all of the edits covered in the tutorial, ALSO do the same to one of your own images. Open each in Photoshop and save as a high resolution JPEG. Then email both files to Jason@JasonRWeingart.com.
Got a question? Ask Jason using the form below.


