Photoshop. Simplified.
Lesson #FOUR
Photoshop Layer Masks
About Photoshop layer Masks
Layer masks are not only selectively used in making adjustments to your image, but also are the most efficient way of combining multiple images. A layer mask allows you to selectively control the opacity (transparency) of a given area of a layer.
While you can also erase parts of an image with the eraser tool, once pixels are erased from a layer, they can not be easily recovered. This is where layer masks come into the picture. You can apply a mask to layer, then use the brush tool to erase (and quickly recover pixels) for seamless blending.
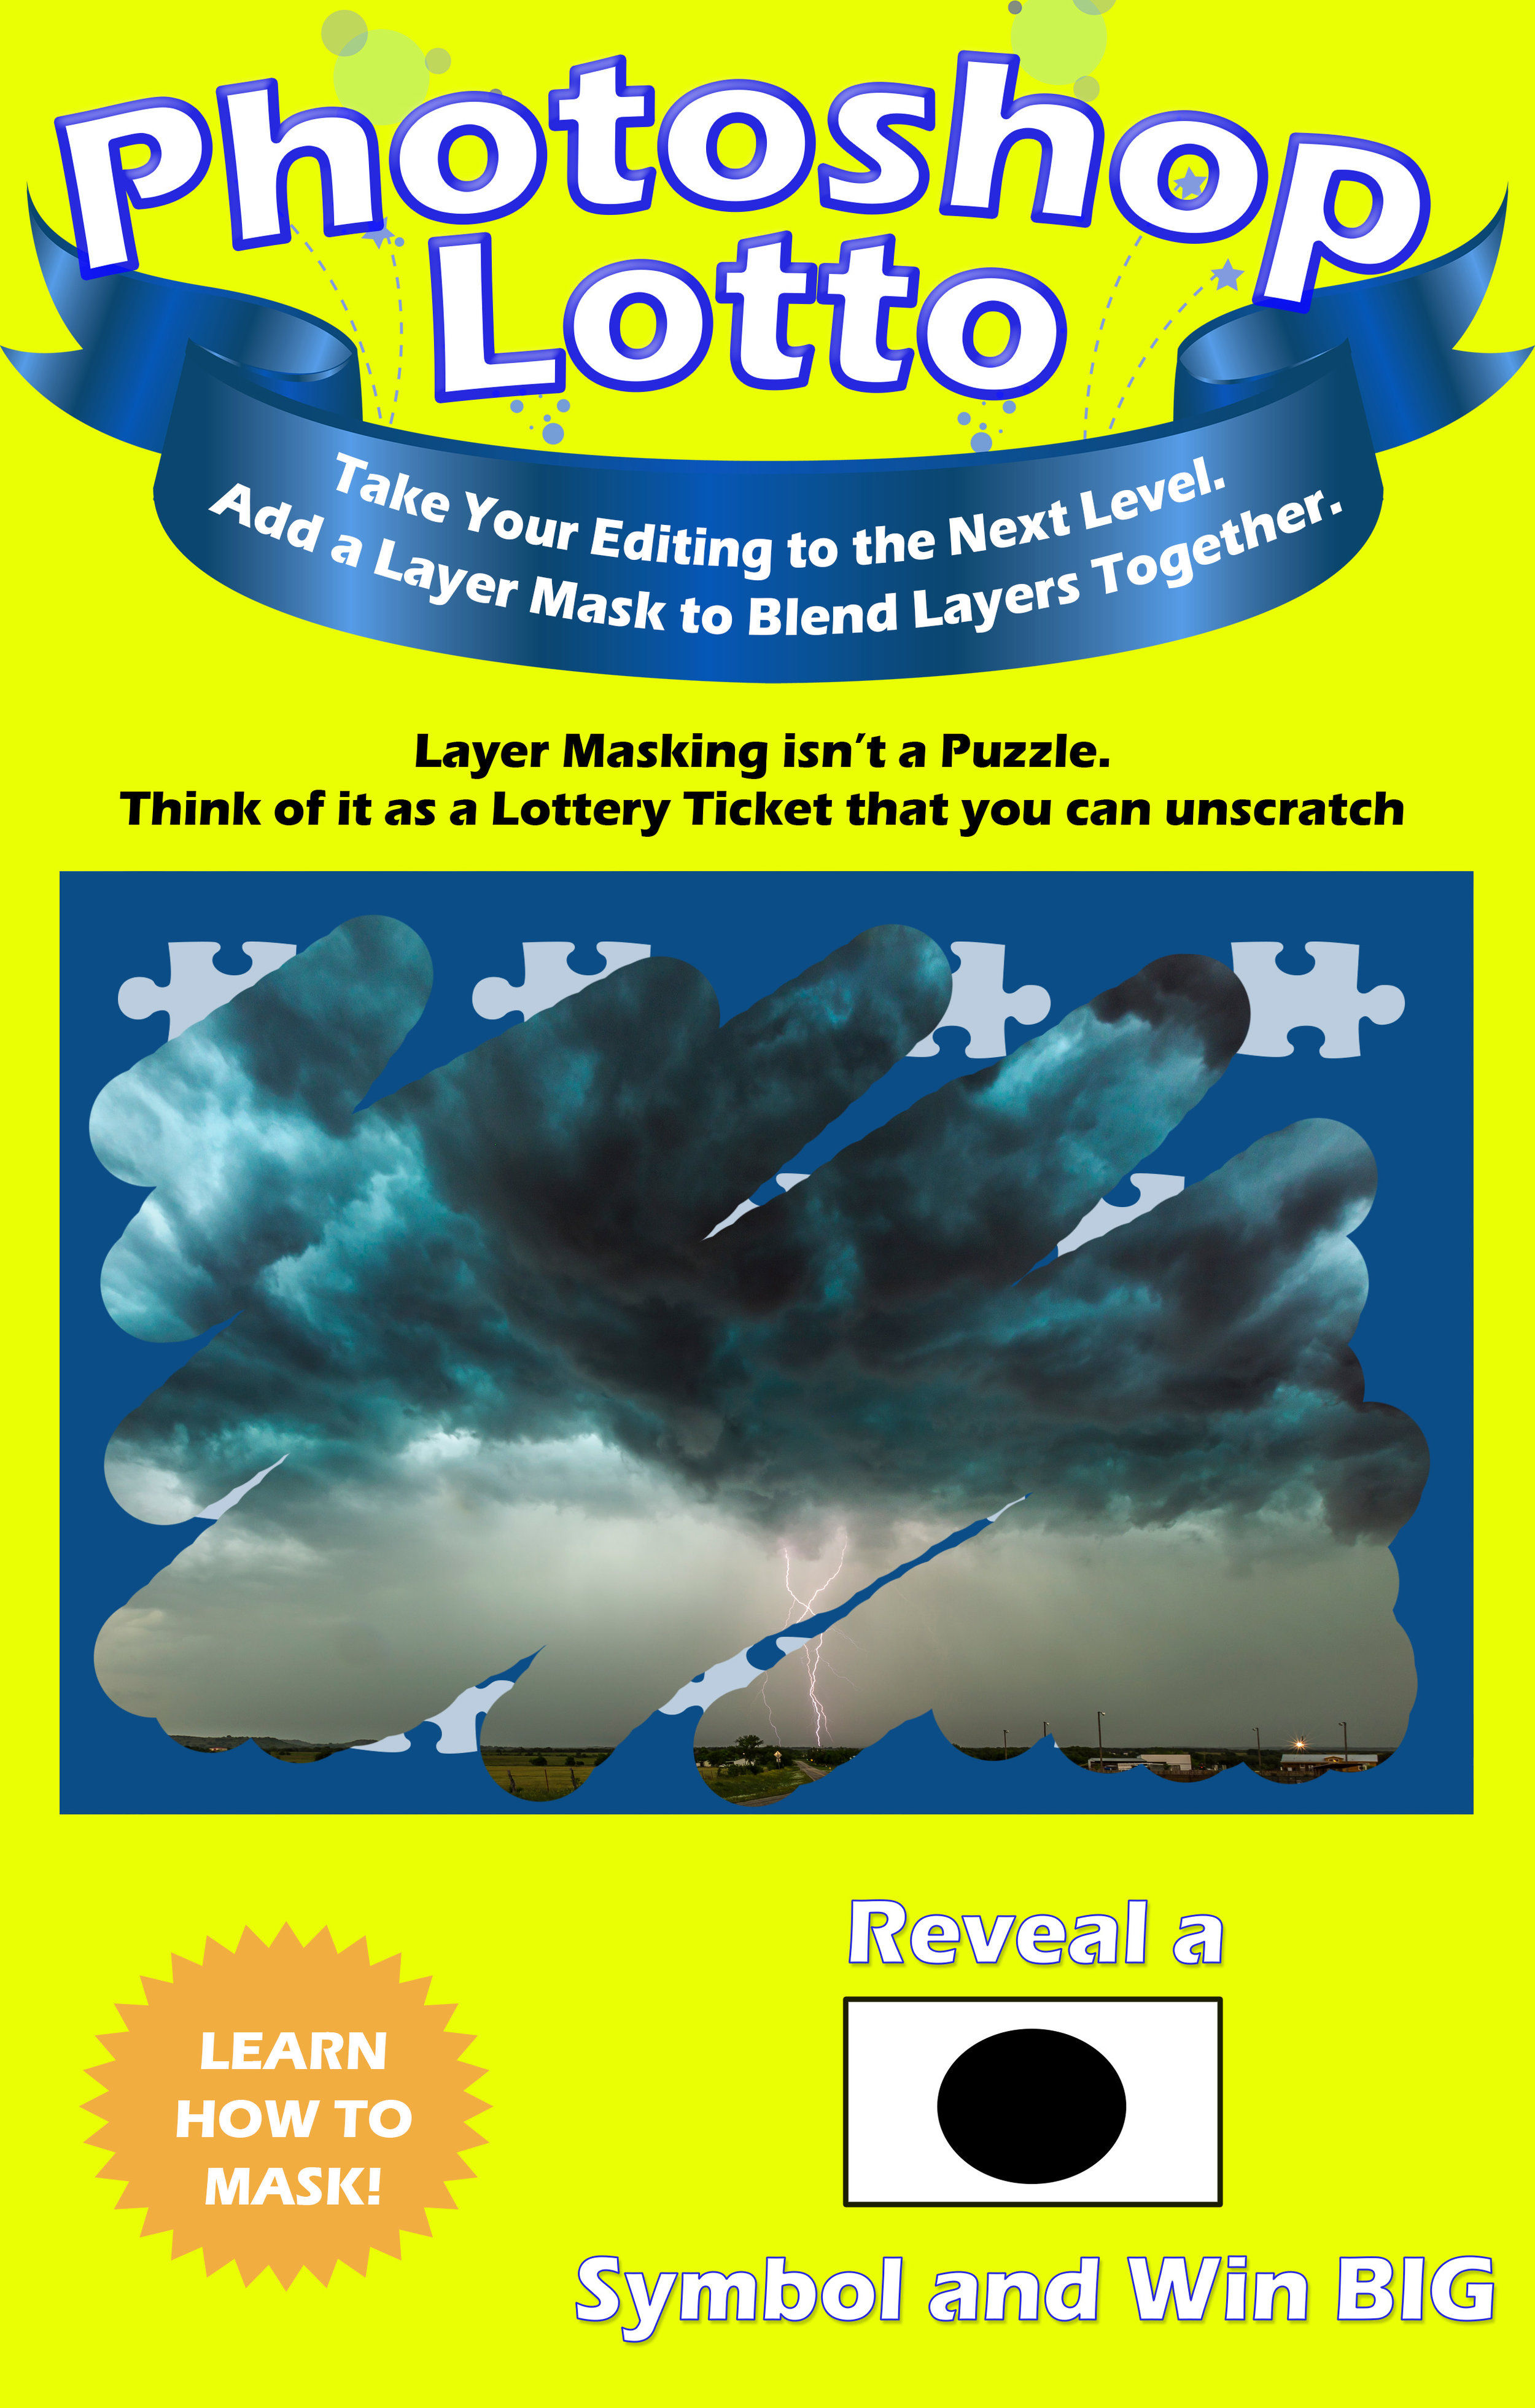
The best analogy I can use to explain layer masking is a lottery ticket. We know that we can scratch off the coating on the top layer to reveal the numbers beneath it. A layer mask would be if you could unscratch that ticket or put the coating on the top layer back.
The following step by step lesson will help you understand and utilize layer masks.
Work along by downloading the images here or use your own two images. (this is also your assignment for this lesson).
Click Images to Enlarge. Move Tool and Layers Example Screenshot
Step One : Layer the foreground (Church) on top
of the background (Sky)
Open the image of the church and the image of the sky in Photoshop. Click on the navigation tab to view the church image.
Select the Move Tool then click and drag the church image onto the sky image tab, when the sky image pops up drag the church image onto it and release.
You will then see two layers. The sky will be labeled Background and the church will be labeled Layer 1.
Click Layer 1 to select it.
Tip : Be sure you have the proper layer selected.
Crop to the vertical edges of Layer 1.
Step Two : Crop the Image
Using the Move Tool, drag Layer 1 (church image) around onto a part of the Background (sky image) that suits you. Be sure to keep the horizon on Layer 1 above the horizon on the Background layer. You can turn down the opacity on Layer 1 to gauge what your composition will be.
Select the Crop Tool, then click and drag out a crop the vertical edges of Layer 1.
Tip : Keep crop ratio in the Tool Options Bar at 2:3 (4:6).
This is photo ratio and will keep your crops in line with the ratio cameras produce.
Add a Layer Mask to Layer 1.
Step three : add a layer mask
Select Layer 1 by clicking on it in the Layers Panel.
Add a Layer Mask by clicking on the Add Layer Mask icon.
You will notice a white box appear next to your layer thumbnail. This shows a layer mask has been added to the layer.
Tip : When a layer mask is added to a layer, no other adjustments can be made to the layer until the layer mask is applied (see Step Eight).
Brush Hardness Example. No layer mask was applied to this layer.
Step Four : Utilizing brush tool
for layer masking
Layer masking utilizes the Brush Tool for image blending. Your selected foreground color will dictate the behavior of the Brush Tool.
A common saying referring to layer masking goes, "Black reveals. White conceals."
- Black : Erases
- White : Recovers pixels that have been "masked out" (erased).
Brush Options Panel
To begin using a layer mask, select the Brush Tool, then hover over your image with it and right click. This will bring up your Brush Tool Options Panel. Here you control the Size and Hardness of the Brush Tool.
- Blending large areas with the Brush Tool typically require a Size of 500 px or greater and a Hardness of 0% - 20%.
- Detail work when compositing two images together requires a Size of 30 px or less and a Hardness of 50% - 90%
Tip : Pay attention to your foreground and background colors. Be sure you have black selected to erase.
Step Five : Use the Brush Tool to Begin Masking Out the Sky on Layer 1.
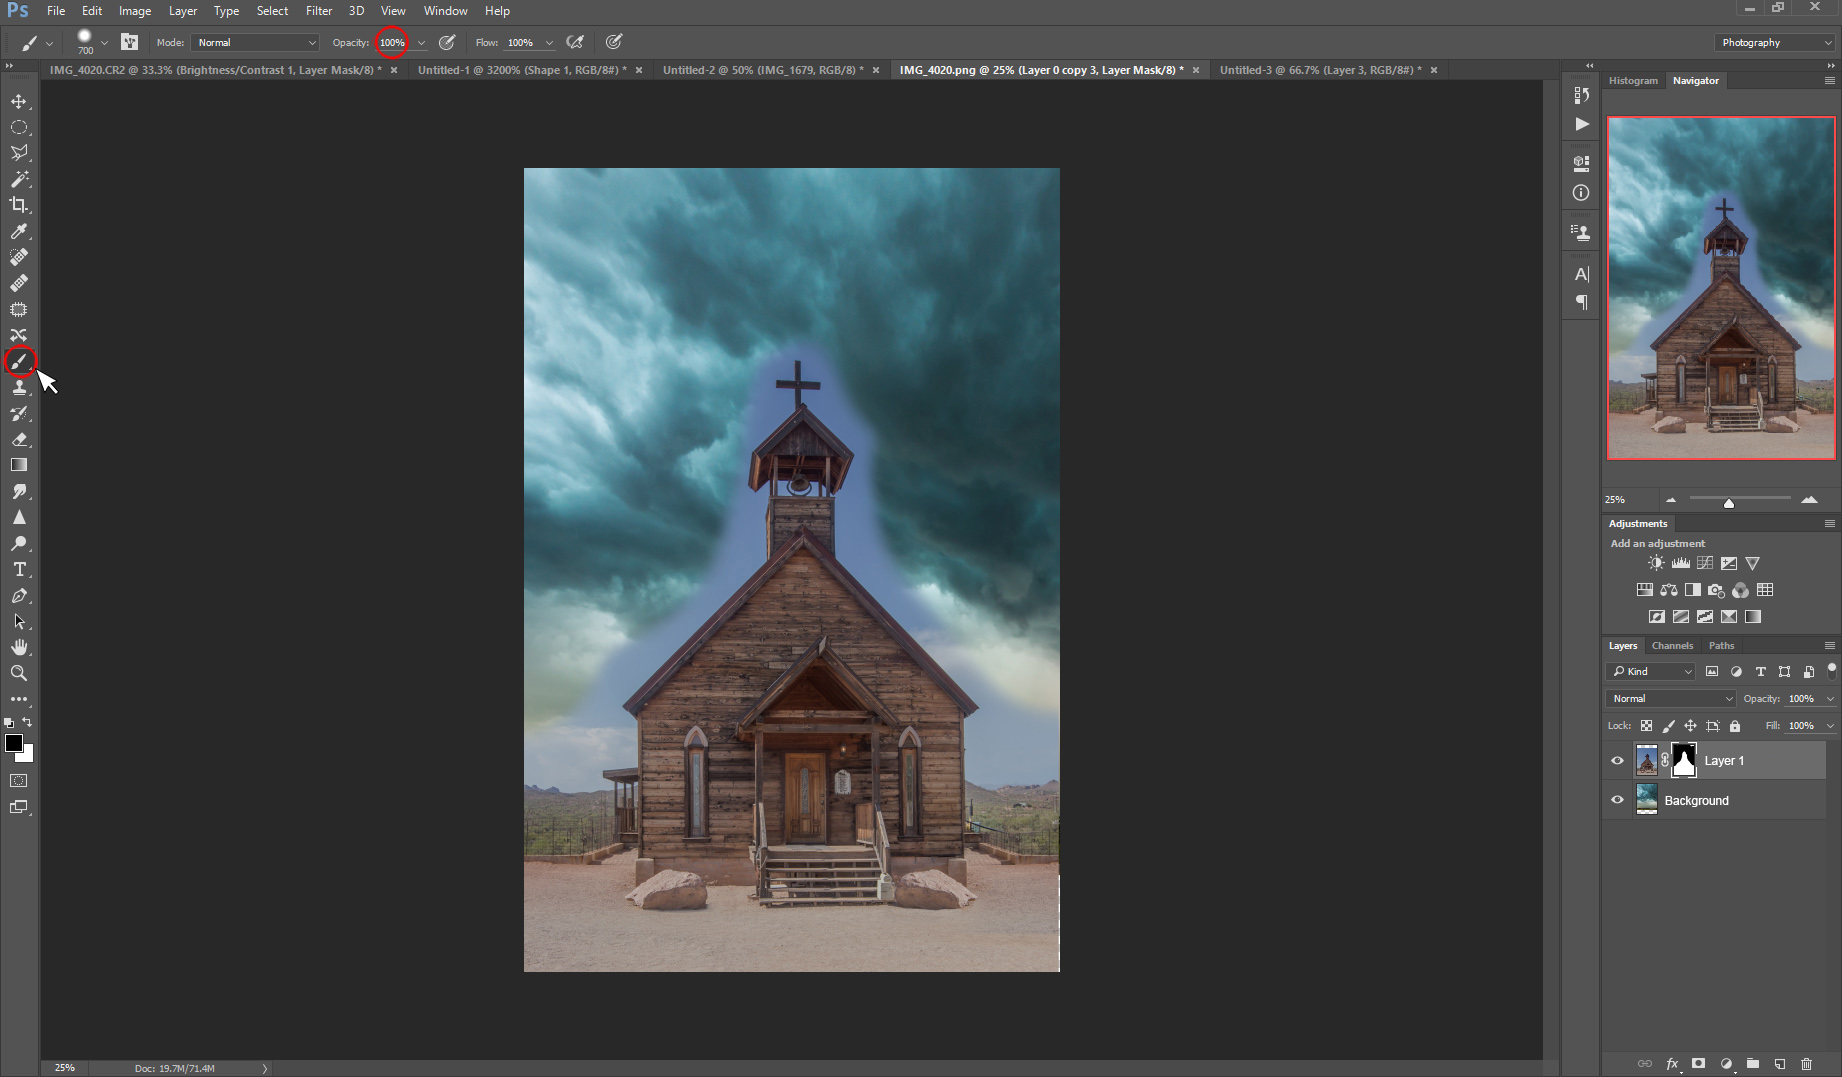
Using the Brush Tool, roughly mask out the sky around the church by clicking and dragging the brush through the blue sky.
Tip : Be sure the Brush Tool's Opacity is set to 100% in the Tool Options Panel.
Select the brush tool at 100% Opacity and use it to roughly mask out the blue sky around the church.
Step six : Detail work with the brush tool
Right click on the image with the brush tool to reveal the Brush Options Panel.
Select the Zoom Tool and zoom into the bell tower.
Then select the Brush Tool. Right click on the image to reveal the Brush Options Panel.
Set the Size to 20 px and the Hardness to 70%
Begin to mask out the sky around the edges of the building by clicking and dragging. Mask out all edges of the church and the mountains in the background.
Tip : Use the Click then Shift+Click Method to quickly and easily mask out straight edges.
Step six : Cleaning up your image
After you have masked out all of the edges of your building, clean up the rest of the sky. After this step there should be no trace of blue sky around the church.
Tip: Using the Zoom Tool, Zoom Out to "Fit in View", then click the Layer Visibility Icon on and off several times while looking at the sky around the church. If you missed masking out any blue sky, it will be obvious while doing this.
Step Seven : Blend the middleground
The last step to give the image a realistic feel is to blend the crisp edges of the mountain with the rain on the sky image.
Select the Brush Tool.
Set the Opacity to 33% in the Tool Options Panel.
Brush across the mountains to make them slightly transparent. This will give the appearance of rain falling on them.
Tip : If you make the mountains too transparent or accidentally mask out some of the church, switch your foreground color to white to paint the area back in.
Step Eight : Apply Layer Mask
Select Layer 1 in the Layers Panel.
Right click on Layer 1, then select Apply Layer Mask in the drop down menu. This will apply your layer mask and permanently erase all pixels that had been masked out. This action will make your layer editable once again.
Tip : With great masking, comes great responsibility.
YOUR ASSIGNMENT
You can now combine multiple images in Photoshop! Save your completed composite image as a .TIFF and include the layers. Then email the file to Jason@JasonRWeingart.com.
Got a question? Ask Jason using the form below.


